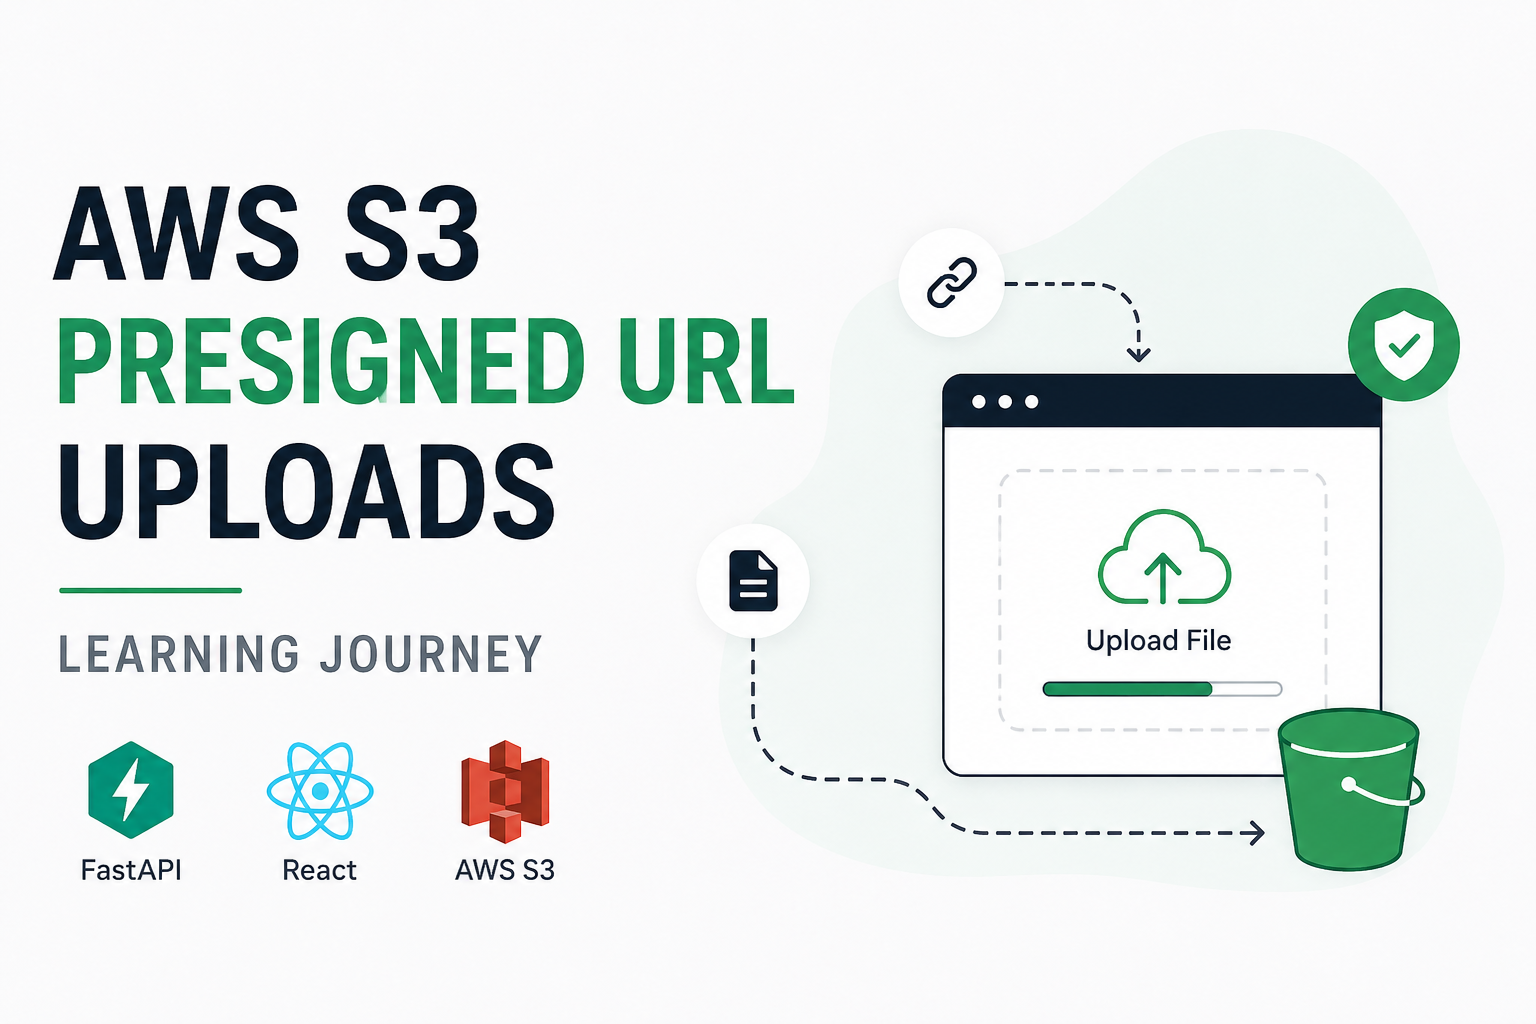
I recently started learning AWS S3 beyond the basics. Instead of only reading the documentation, I wanted to understand how file uploads actually work in real applications.
To learn this, I created a small project using FastAPI, React (TanStack Router), and AWS S3. My goal wasn't to build a production feature—it was to explore the complete upload process, understand the architecture, and debug the kinds of issues developers commonly face.
During this learning project, I implemented file uploads using Presigned URLs, experimented with different approaches, and fixed several problems such as CORS errors, signature mismatches, and incorrect content types.
This article summarizes everything I learned along the way.
Traditional File Upload
When I first started, my upload flow looked like this:
Browser
    │
    │ Upload File
    ▼
FastAPI Backend
    │
    │ Upload using boto3
    ▼
AWS S3
The browser sends the entire file to the backend.
The backend receives the file and uploads it to AWS S3.
Why this approach isn't ideal
Imagine a user uploads a 100 MB video.
The file travels twice:
- Browser → Backend
- Backend → AWS S3
This means:
- More backend bandwidth
- More memory usage
- Slower uploads
- Backend becomes responsible for handling large files
It works well for small applications, but it doesn't scale efficiently.
Learning About Presigned URLs
Then I learned about Presigned URLs.
Instead of sending the file through the backend, the backend simply generates a temporary upload URL.
The browser uploads the file directly to AWS S3.
The flow becomes:
Browser
    │
    │ Request Upload URL
    ▼
FastAPI Backend
    │
    │ Generate Presigned URL
    ▼
Browser
    │
    │ Upload File Directly
    ▼
AWS S3
Notice something important.
The backend never receives the actual file.
It only creates a temporary upload URL with permission to upload.
This approach is much faster and reduces the workload on the backend.
My Final Upload Flow
The implementation finally became a simple three-step process.
Step 1 — Request a Presigned URL
The frontend first requests a Presigned URL from the backend.
Example request:
{
  "filename": "profile.png",
  "file_type": "image",
  "content_type": "image/png"
}
The backend responds with:
- Upload URL
- Object Key
- File URL
Step 2 — Upload Directly to AWS S3
The browser uploads the file directly to AWS S3.
await fetch(upload_url, {
  method: "PUT",
  headers: {
    "Content-Type": file.type,
  },
  body: file,
})
The backend is completely skipped during the upload.
Step 3 — Save Metadata
Once the upload succeeds, the frontend informs the backend.
The backend stores only the file information, such as:
- Title
- Object Key
- File URL
- File Type
The actual file is already stored inside S3.
Problems I Faced
Like most real-world implementations, everything didn't work on the first attempt.
Here are the issues I faced while building this feature.
Problem 1 — 403 Forbidden (CORS Error)
The upload kept failing with:
403 ForbiddenWhen I opened the browser's Developer Tools, I noticed that the browser was sending an OPTIONS request before the actual upload.
This is called a CORS Preflight Request.
Since my S3 bucket wasn't configured to allow requests from my frontend, AWS rejected the request.
Solution
I configured CORS on my S3 bucket.
[
  {
    "AllowedHeaders": ["*"],
    "AllowedMethods": ["GET", "PUT", "POST", "DELETE", "HEAD"],
    "AllowedOrigins": ["*"],
    "ExposeHeaders": ["ETag"],
    "MaxAgeSeconds": 3000
  }
]
After updating the bucket CORS configuration, the browser was allowed to upload files directly.
Problem 2 — Signature Mismatch
The next issue was another 403 Forbidden error.
The backend successfully generated a Presigned URL, but AWS rejected the upload request.
After debugging, I found the reason.
While generating the Presigned URL, I had included extra parameters like:
ACL="public-read"AWS signs every parameter used while generating the URL.
That means the upload request must include exactly the same headers.
My frontend wasn't sending:
x-amz-acl: public-readBecause of that, AWS calculated a different signature and rejected the request.
Solution
I simplified the parameters while generating the Presigned URL.
params = {
    "Bucket": bucket_name,
    "Key": key,
    "ContentType": content_type,
}
Then my frontend only needed to send:
headers: {
    "Content-Type": file.type
}
After matching the headers correctly, the upload worked without any issues.
Problem 3 — Images Download Instead of Opening
After uploading images successfully, I noticed another problem.
Clicking the file URL downloaded the image instead of displaying it in the browser.
The reason was that AWS S3 stored the file as:
application/octet-streamSince the browser didn't know the actual file type, it treated it as a binary download.
Solution
While generating the Presigned URL, I included the original content type.
Backend:
params["ContentType"] = content_typeFrontend:
headers: {
    "Content-Type": file.type
}
Now AWS stored files with the correct MIME type, such as:
image/pngor
image/jpegAs a result, browsers displayed the image correctly instead of downloading it.
Final Architecture
The final upload flow became:
Browser
      │
      │ Request Presigned URL
      ▼
FastAPI Backend
      │
      │ Generate Upload URL
      ▼
Browser
      │
      │ Direct Upload
      ▼
AWS S3
      │
      │ Upload Successful
      ▼
Browser
      │
      │ Save Metadata
      ▼
FastAPI Database
Now the backend is responsible only for:
- Authenticating users
- Generating Presigned URLs
- Storing file metadata
AWS S3 is responsible for storing the actual files.
What I Learned
This implementation helped me understand several important AWS concepts.
- How Presigned URLs work
- Why direct uploads are preferred in production
- How browser CORS requests work
- Why signed request headers must match exactly
- Why setting the correct
Content-Typeis important - How to separate file storage from application data
Final Thoughts
Before implementing this feature, I thought uploading files to AWS S3 simply meant calling boto3.upload_file() from the backend.
After building a Presigned URL workflow, I understood why many production applications let browsers upload files directly to S3.
The backend becomes lighter, uploads are faster, and the architecture is much easier to scale.
More importantly, debugging each issue taught me far more about AWS S3 than simply reading the documentation.