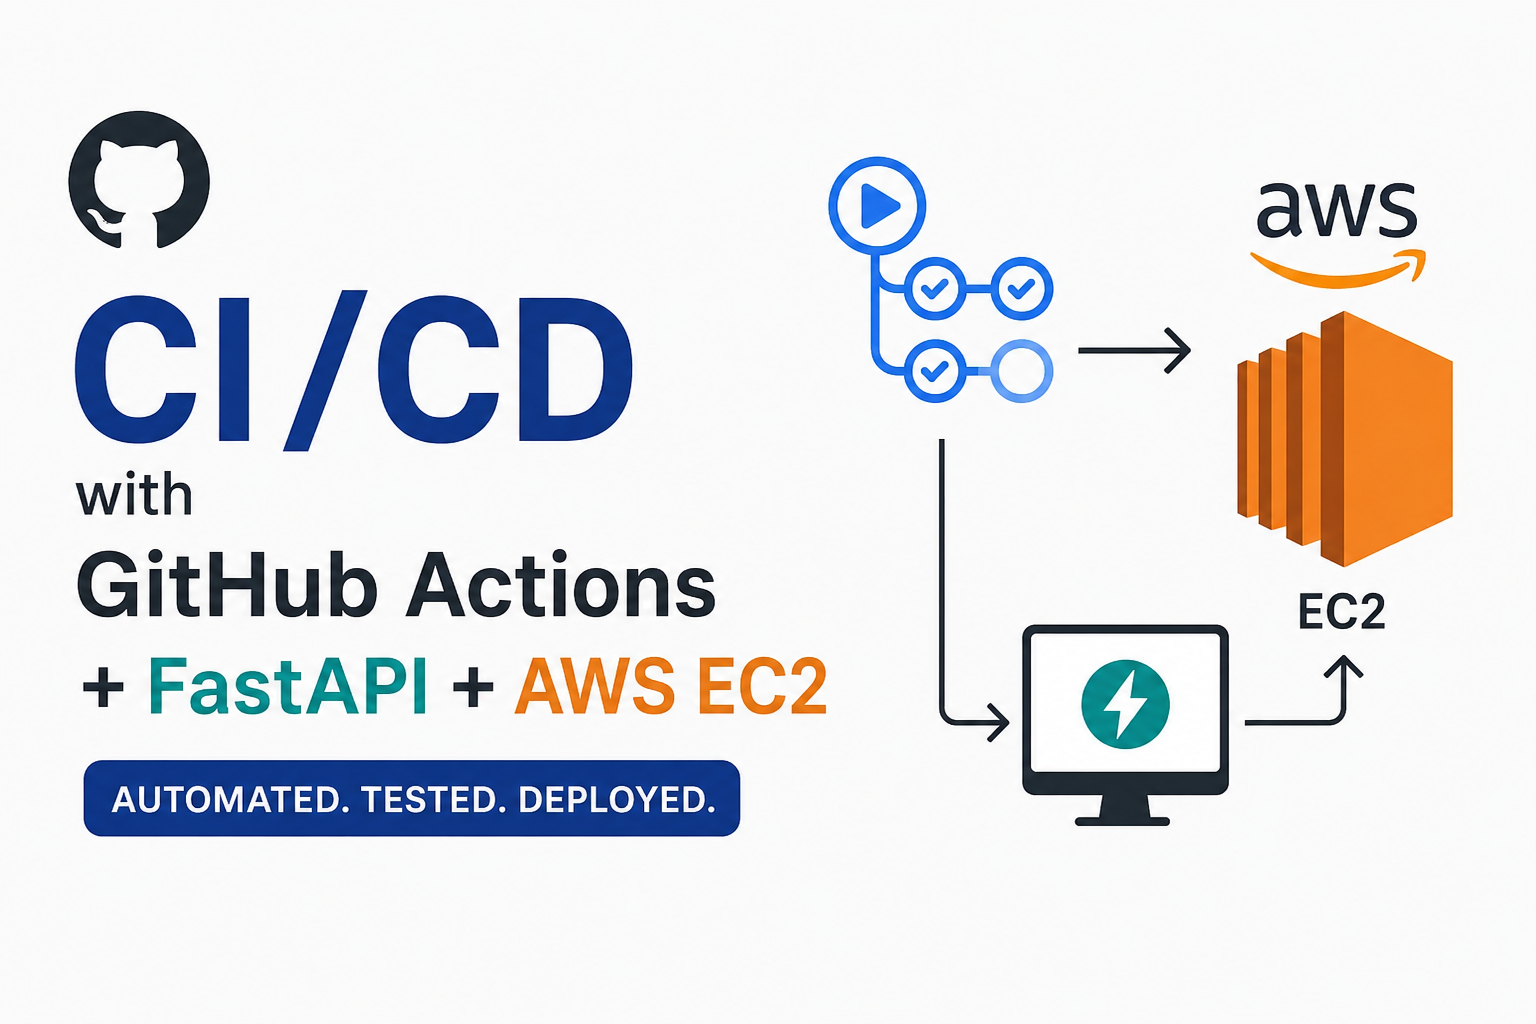
In this guide, we'll build a complete CI/CD pipeline that automatically tests and deploys a FastAPI application to an AWS EC2 instance whenever code is merged into the
mainbranch.
Table of Contents
- Introduction
- What is CI/CD?
- Architecture
- Prerequisites
- Step 1 -- Create an EC2 Instance
- Step 2 -- Allocate an Elastic IP
- Step 3 -- Connect to EC2 with SSH
- Step 4 -- Prepare the Server
- Step 5 -- Create a systemd Service
- Step 6 -- Configure GitHub Secrets
- Step 7 -- Generate an SSH Key for GitHub Actions
- Step 8 -- Build the CI Workflow
- Step 9 -- Build the CD Workflow
- Deployment Flow
- Troubleshooting
- Key Takeaways
Introduction
Deploying manually after every code change quickly becomes repetitive.
Instead of logging into the server every time and running commands like:
git pull
uv sync
sudo systemctl restart learn-ci-cd
we can automate the entire process.
After completing this setup:
- Every Pull Request is automatically tested.
- Every merge to
mainis automatically deployed. - The FastAPI service restarts automatically.
- A health check verifies that deployment succeeded.
What is CI/CD?
Continuous Integration (CI)
CI validates code quality before it reaches production.
Our CI pipeline performs:
- Ruff linting
- Ruff formatting check
- MyPy type checking
- Pytest execution
If any step fails, deployment never starts.
Continuous Deployment (CD)
Once code is merged into main:
- GitHub Actions connects to EC2 through SSH.
- Downloads the latest code.
- Installs production dependencies.
- Restarts the FastAPI service.
- Performs a health check.
No manual deployment is required.
Architecture
Developer
      │
Feature Branch
      │
Pull Request
      │
GitHub Actions (CI)
      │
CI Passed
      │
Merge into main
      │
GitHub Actions (CD)
      │
SSH into EC2
      │
git fetch
git reset --hard origin/main
uv sync --frozen --no-dev
systemctl restart learn-ci-cd
Health Check
      │
Production UpdatedPrerequisites
- AWS Account
- GitHub Repository
- FastAPI Project
- Ubuntu EC2 Instance
- GitHub Actions enabled
Step 1 -- Create an EC2 Instance
Launch an Ubuntu EC2 instance.
Recommended:
- Ubuntu 24.04 LTS
- t2.micro (or t3.micro depending on availability)
- 20 GB EBS
- Security Group:
- SSH (22)
- HTTP (80)
- HTTPS (443)
- Custom TCP 8000 (for testing)
Create an AWS Key Pair (.pem) to access the server.
Step 2 -- Allocate an Elastic IP
A normal public IP changes after stopping/starting an EC2 instance.
An Elastic IP provides a permanent public IP.
Example GitHub Secret:
EC2_HOST=100.48.xxx.xxxStep 3 -- Connect to EC2
ssh -i fastapi-key.pem ubuntu@YOUR_ELASTIC_IPInstall tools:
sudo apt update
sudo apt install git -y

curl -LsSf https://astral.sh/uv/install.sh | sh
source ~/.bashrcStep 4 -- Prepare the Server
Clone your repository:
git clone <repository-url>
cd learn_ci_cd
Create the environment file:
cat > .env <<EOF
DATABASE_URL=...
SECRET_KEY=...
EOF
Install dependencies:
uv syncStep 5 -- Configure systemd
Create:
/etc/systemd/system/learn-ci-cd.serviceExample:
[Unit]
Description=Learn CI/CD FastAPI
After=network.target

[Service]
User=ubuntu
WorkingDirectory=/home/ubuntu/learn_ci_cd
EnvironmentFile=/home/ubuntu/learn_ci_cd/.env
ExecStart=/home/ubuntu/.local/bin/uv run uvicorn main:app --host 0.0.0.0 --port 8000
Restart=always

[Install]
WantedBy=multi-user.target
Enable it:
sudo systemctl daemon-reload
sudo systemctl enable learn-ci-cd
sudo systemctl start learn-ci-cdStep 6 -- Configure GitHub Secrets
Repository → Settings → Secrets and variables → Actions
Create:
- EC2_HOST
- EC2_USER
- EC2_SSH_KEY
Never commit private keys to Git.
Step 7 -- Generate a Deployment SSH Key
Generate:
ssh-keygen -t ed25519 -C "github-actions"Files created:
id_ed25519
id_ed25519.pub- Add
id_ed25519.pubto:
~/.ssh/authorized_keys- Store
id_ed25519in the GitHub Secret:
EC2_SSH_KEYThis key is dedicated to GitHub Actions and is separate from the AWS
.pem key.
Step 8 -- CI Workflow
Our CI workflow runs:
- Ruff
- Ruff Format
- MyPy
- Pytest
Only if all checks pass does deployment become eligible.
Step 9 -- CD Workflow
The deployment workflow listens for the successful completion of the CI
workflow on main.
Deployment script:
cd /home/ubuntu/learn_ci_cd

git fetch origin
git reset --hard origin/main

uv sync --frozen --no-dev

sudo systemctl restart learn-ci-cd

curl -f http://localhost:8000/healthDeployment Flow
Developer
    │
Push Feature Branch
    │
Create Pull Request
    │
CI
 ├── Ruff
 ├── Ruff Format
 ├── MyPy
 └── Pytest
    │
Merge to main
    │
Deploy
    │
SSH into EC2
    │
git fetch
git reset
uv sync
systemctl restart
Health Check
    │
Production UpdatedTroubleshooting
myapp.service not found
Cause:
Service didn't exist.
Solution:
Create a dedicated systemd service (learn-ci-cd.service).
status=203/EXEC
Cause:
Incorrect ExecStart path.
Solution:
Use the actual uv executable:
/home/ubuntu/.local/bin/uvCannot access port 8000
Open the EC2 Security Group inbound rule for port 8000.
GitHub cannot SSH
Verify:
- Public key is in
~/.ssh/authorized_keys - Private key is stored in
EC2_SSH_KEY
Key Takeaways
By the end of this project we learned:
- CI vs CD
- GitHub Actions
- AWS EC2
- Elastic IP
- SSH authentication
- GitHub Secrets
- systemd
- FastAPI deployment
- Automated production deployment
- Health checks
- Basic production troubleshooting
Conclusion
With this setup, every merge into the main branch automatically:
- Validates the code.
- Deploys to EC2.
- Restarts the FastAPI service.
- Confirms the application is healthy.
This forms a simple but production-oriented CI/CD pipeline suitable for personal projects, portfolios, and small production services.
Jobi S S
admin
Sharing technical insights, engineering concepts, and practical modern software development guides.
Community Discussion
Enjoyed this read? Show your support or share your thoughts.